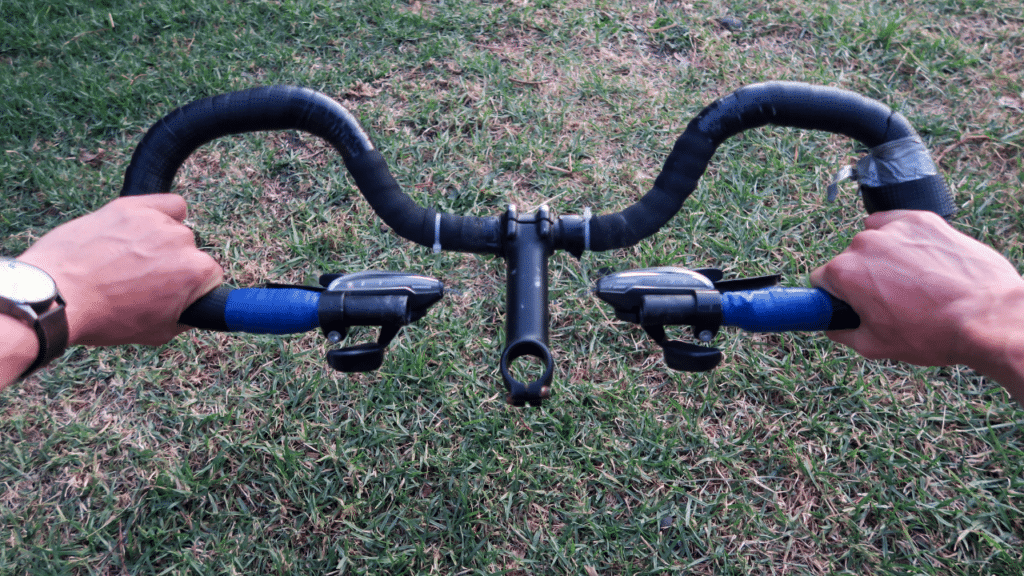
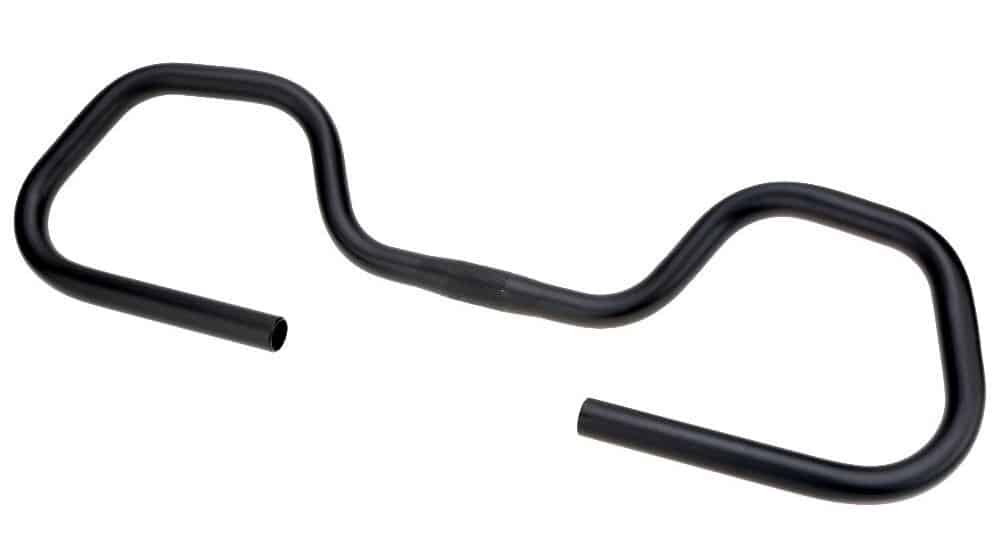
Have you seen those strange looking handlebars on some bikes? Yes they may not look aesthetically appealing, but they offer comfort, and a range of hand positions. I am going to explain what these butterfly bars are?
Often referred to as Trekking bars. I was looking at getting some for my Surly LHT about a year ago. And since then I have been on 3 + bike tours with them, covering over 7,000 km. With my extensive use I feel I can give some tips and advice.
Trekking Bars are one of the best handlebars for bike touring. They offer many benefits. Including comfortability, raising your posture and sitting you more upright, while also offering multiple hand positions. Not only that there are other reasons why you would want to consider them.
*If you want to buy some butterfly bars, after reading this review. Doing it via the Amazon links give Cycle Travel Overload a small commission which goes into creating more great resources for the bike travel community.
So what are Butterfly bars?
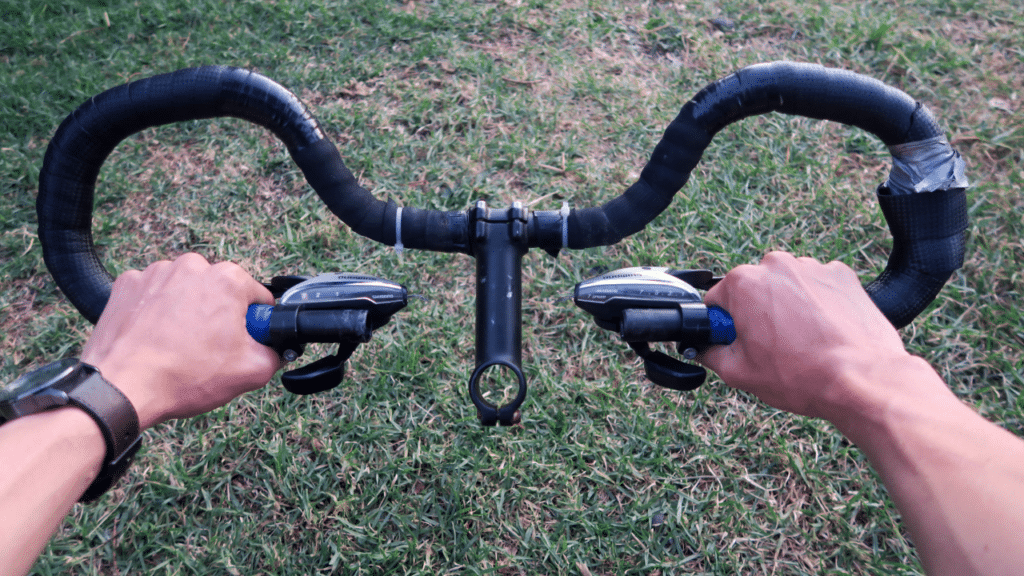
They are a type of bicycle handlebar, that are often referred to as trekking bars. They are commonly found on touring bikes. As they are designed for comfort and efficiency on long rides. Offering a multitude of different hand positions. And many other great advantages.
So know that you now what they are. Why would you need these weird looking bars to replace your current handlebar setup? There are many reasons to consider trying butterfly bars for your next tour.
Why Butterfly bars?

- Upright position!
- Better for posture
- Comfort
- Many Different hand positions and ability to spread your arms
- Change your overall riding position frequently
- Less expensive then other bars
- Allows for a lot of control and leverage on rough surfaces with a very wide grip
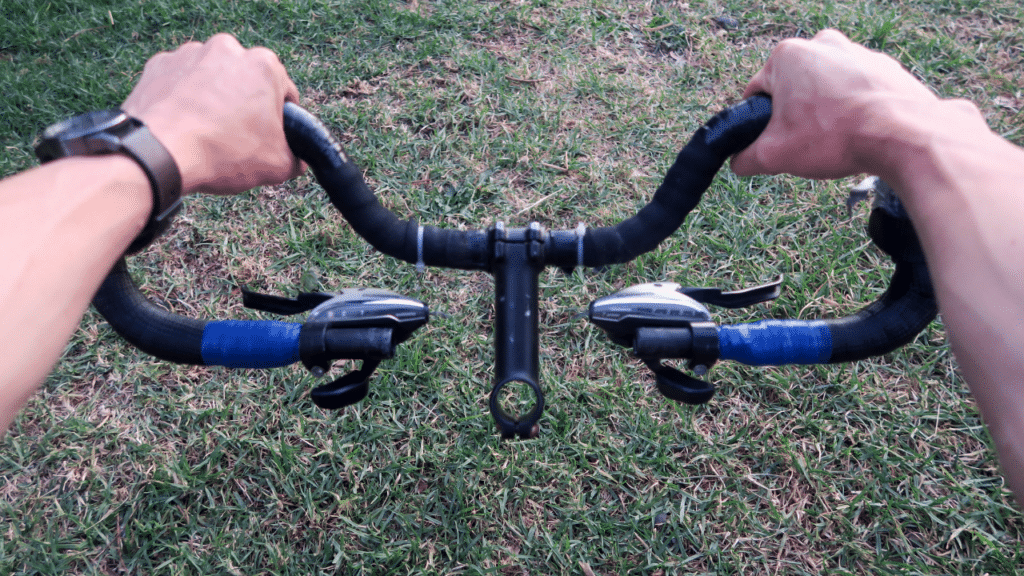
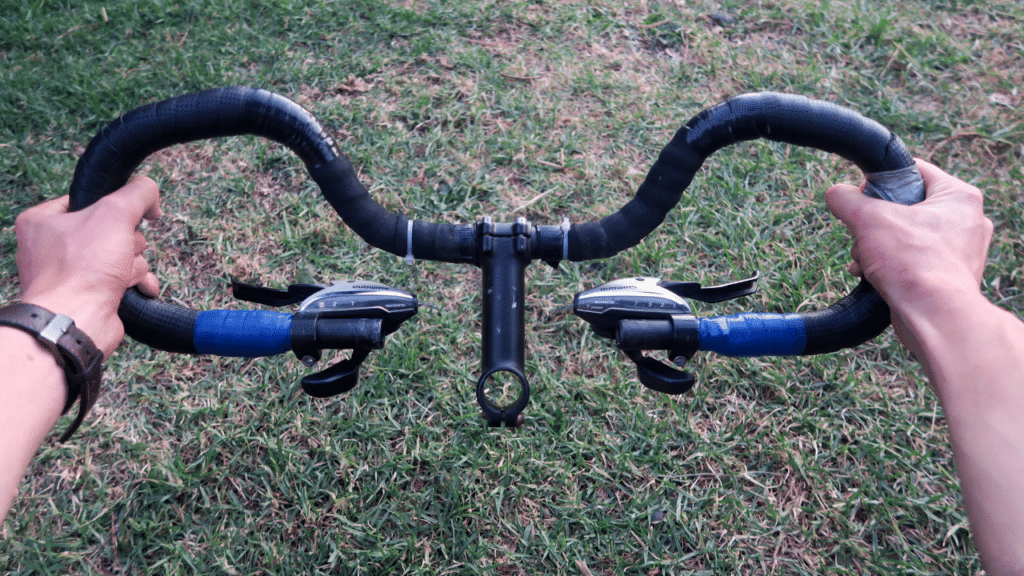
When using bars like the drop-bars over time I find my back hurts as this is more of a hunched over position. With the butterfly bars they provide a more upright position which helps over a long tour, and is much more sustainable. This position makes using trekking bars so much more comfortable compared to other bars I have tried. You get 4 main hand positions with many other possible combinations.
I find the most comfortable position is on the top of the bars. This is where your posture is at is most upright, you get better control and stability of your bike. While it is similar to the steering wheel of a car.
Best Trekking Handlebars

On of the great things about these handlebars is the affordability. They are about $30 for a standard bar. You can find some for $29.99 (on amazon.com) The model I got for my Surly LHT were these BBB BHB-30 Multi Bar Black Handlebars.

Cons and things to consider
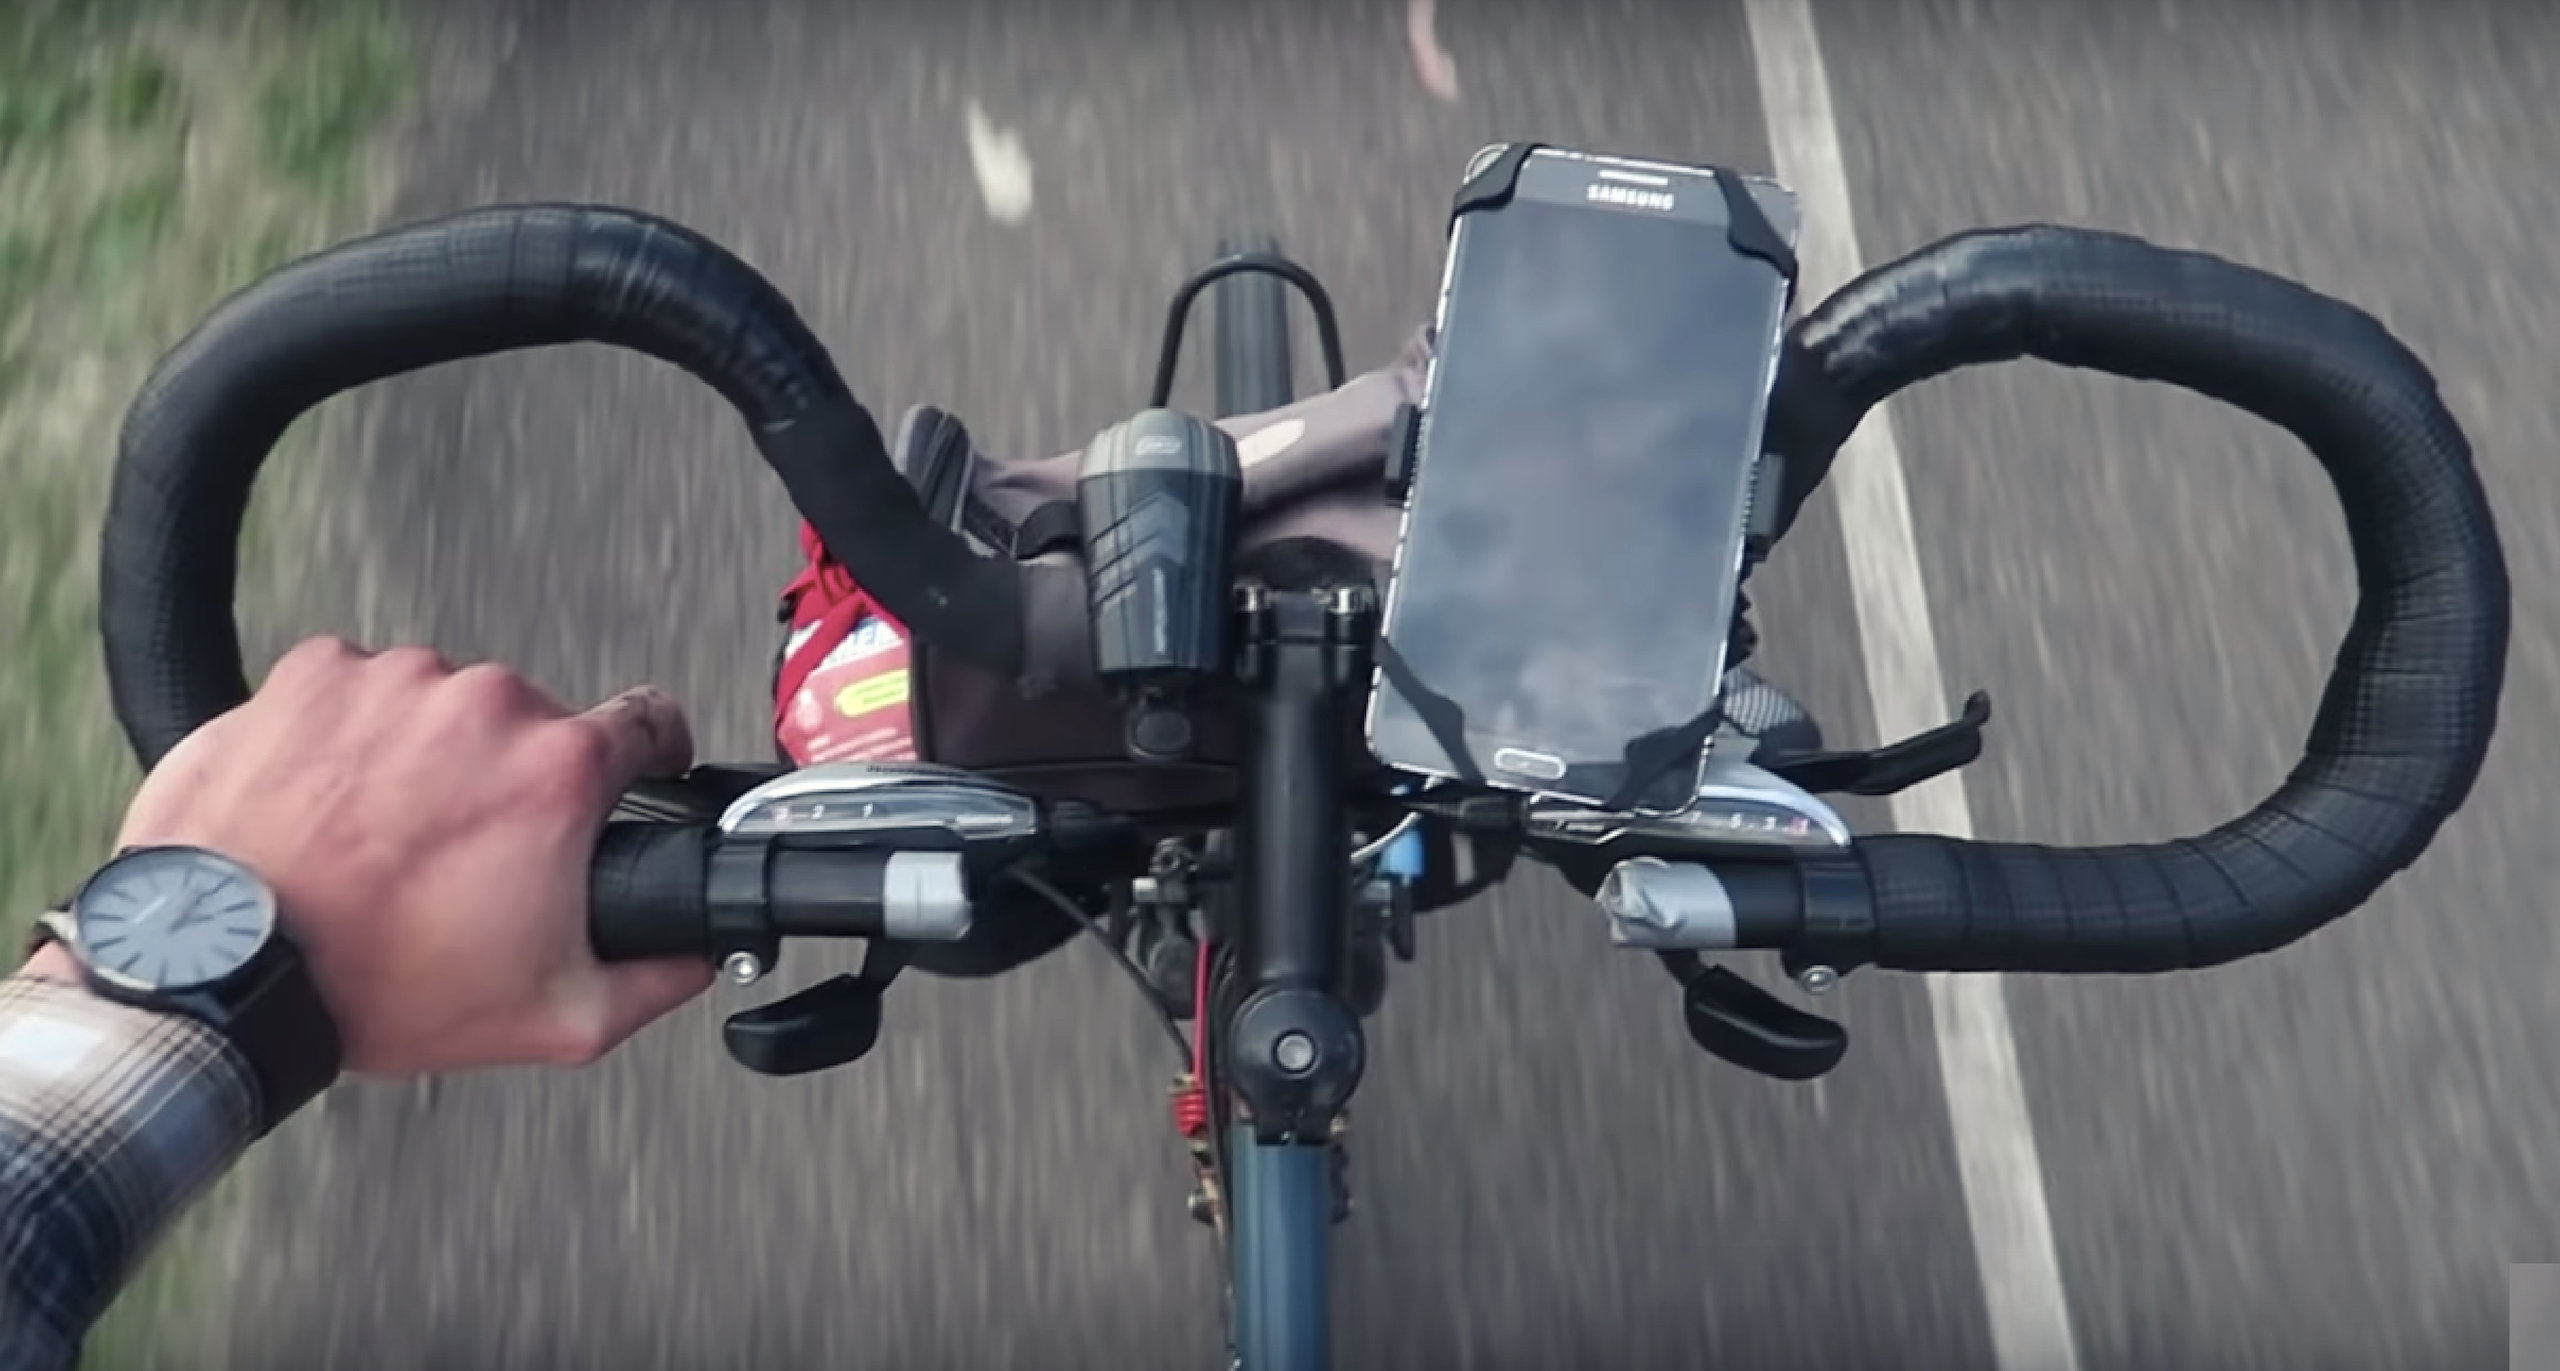
- Can be cumbersome to mount lights, handlebar bag.
- Foam grips can absorb water
- Bar tape will fall of the bars over time. Due to curvature
- They may look ugly to some
- When descending I found my more comfortable hand position was on the top of the bar, but had to move my hand position down to use brakes when needed. (May want to add a extra brake lever close by at the top of the bar.)
- The brakes seem to close when on technical descends
- Incredible flex feel especially on downhills
- May need a head tube extension depending on your setup
- You may need a longer stem to prevent the end of the bars hitting your frame when turning.
- Not as aerodynamic positing on the bike, for riding headwinds etc.
These trekking bars can be awkward to mount gadgets and lights on, a handlebar bracket is recommended. This will also aid in allowing you to mount larger handlebar bags further out from the handlebar. Something like this Thorn Accessory Bar is an option. Which fastens to your steerer tube. Another idea is to look at a bikepacking style roll bag, generally these fit under the trekking bar.
I have hear some bike travellers have problems with the foam grips in wet weather and they tend to soak up all the water and make it uncomfortable for the nexts days riding. Also having that said after thousands of kilometres. Considering the bar curl, I did find the bar tape to tear easier. Compared to more traditional handlebar options, like drop bars.
I also mentioned that they look ‘ugly’ this is completely subjective, I have even heard some say they look cool. But at first I thought they looked hideous. It is like the opposite of the 20th-century modernist architecture principle ‘form follows function.’ More like function over form.
Some other things to also consider is stem clamp capabilities with your current setup and your handlebar bag fitting properly.
The most common upright handlebar compatible stem clamp size is 25.4 mm or 1″. Which the diameter of these BBB Bars are exactly 25.4 mm. But if you have a drop bar set up currently and are looking at giving butterfly bars a go. You most likely will have to get a compatible stem to fit. Another thing to consider is the grip area size where the brake lever and shifters will be located. Again for most upright handlebars this is 22.2 mm or 7/8″. If you switch to this bar you will most likely need thumb shifters or (trigger shifters) and brake levers. If you want to learn more about handlebar and stem dimensions, Sheldon Brown’s Bicycle Handlebar and Stem Dimension Crib Sheet is a helpful resource.
It seems like I am picking apart this style of handlebars, but I do love them. Just want to inform you with as much as possible with what I learnt from them. It seems the comfort and hand position variety for long distance tours out ways all the other negatives.
You may also want to consider getting a adjustable stem
Cheapest Option On Amazon For Only $15.99
These Butterfly bars are the most budget friendly option I could find on Amazon. They are only $15.99 but are in a 25.4mm if you require a 31.8 mm there is a different option for ($15.98).

