Taking to the trails or cruising on the road, mountain biking can deliver a thrilling and heart-pumping experience. However, to achieve peak performance, a crucial consideration to mull over is tire pressure. Hitting the sweet spot with tire pressure can enhance your velocity, handling, and overall ride enjoyment. So, what’s the ideal tire pressure for mountain biking on the road? Delve deeper to discover the answer.
Why Does Tire Pressure Even Matter?
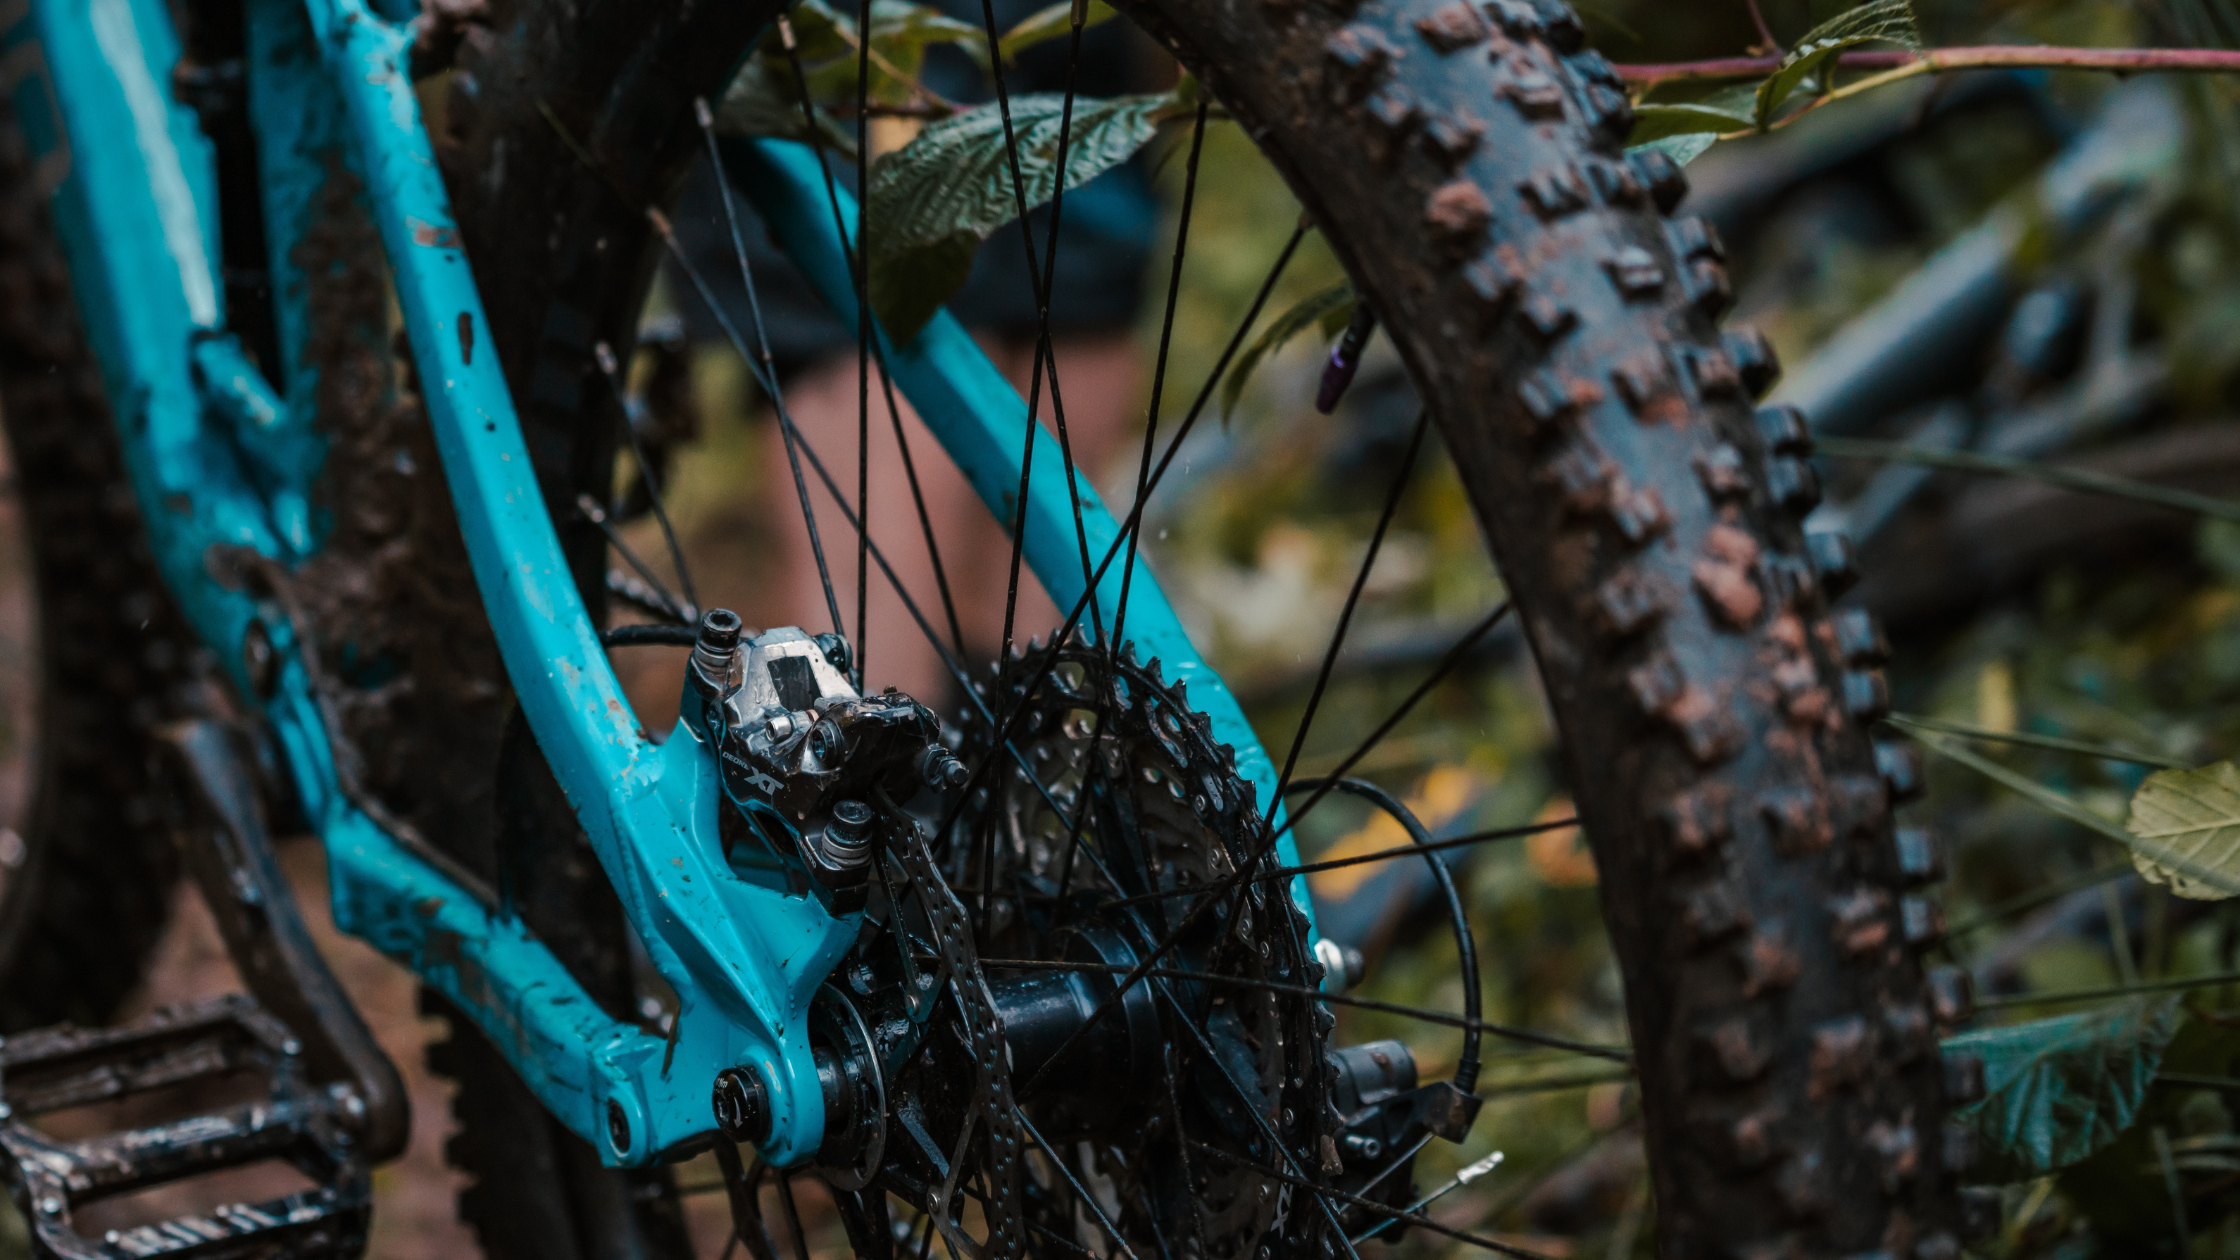
Tire pressure refers to the quantity of air contained within the tires of your trusty bicycle and is measured in the unit of pounds per square inch (PSI). This pneumatic pressure is a deciding factor in your tire’s overall size and shape, impacting the amount of surface area in contact with the ground. If you allow your tire pressure to dip too low, your tire will flatten and widen, resulting in amplified drag and decreased speed. Conversely, when your tire pressure skyrockets to a too high level, your tire will round out and narrow, limiting the contact with the ground and creating a more jarring and unstable ride.
Recommended Mountain Bike Tire Pressure Range
Embarking on your tire pressure journey, your first step is to investigate the manufacturer’s recommendations that are inscribed onto the exterior surface of your bike’s tires. This vital information is typically expressed in the form of pounds per square inch (PSI).
According to MTB manufacturers, a range of 30 to 50 psi is generally recommended for most mountain bikes. This range strikes a balance between the demands of off-road (which requires a lower pressure of around 30 psi) and on-road riding (closer to 50 psi).
This pressure range can provide you with the ideal amount of grip and shock absorption on the road while maintaining a smooth and stable ride.
If you’re planning a long trip on your mountain bike, especially on even roads, maintaining the recommended tire pressure range of 40 to 50 psi, which is higher than for rigid trails, is your best option. This will optimize your speed and efficiency while ensuring a smooth and comfortable ride on the road.
How to Adjust Tire Pressure on a Mountain Bike for Hitting the Road
Here is the easy and simple process to adjust the tire pressure on a mountain bike for road use:
Set your sights on checking the recommended pressure range before adjusting your tire pressure. Typically, this crucial data is etched on the tire’s sidewall or tucked away in the owner’s manual. Adhering to the recommended pressure range is paramount for ensuring the apex of performance and safety.
Remove the valve cap’s hold and let it loosen its grip on the valve stem protruding from the tire’s rim. The valve stem is the pint-sized projection that enables you to inflate the tire.
Have a tire pressure gauge and appraise the present pressure of your tire. If the pressure is inadequate or excessive, tweak it to a suitable degree.
Fasten the pump head to the valve stem and commence blowing up the tire. Pause intermittently to verify the pressure and modify as required. Ensure that you don’t inflate the tire excessively, as this can result in rigidity and escalate the likelihood of flat tires.
Once you have reached the desired pressure, reattach the valve cap to the valve stem.
Cycle through the steps for your other tire: Continue this sequence for the other tire on your mountain bike, ensuring that you tune the pressure to the suggested range for each tire.
Hop on your mountain bike and embark on a test ride to verify the suitability of the tire pressure for the road. If needed, make further tweaks to the pressure until you achieve the desired ride quality and top-notch performance.
Other Factors to Consider When Adjusting Tire Pressure
When adjusting your tire pressure, there are a few factors to keep in mind, except for the terrain you’re going to ride on.
Rider Weight: Tire pressure requirements can be heavily influenced by the weight of the rider. Riders with a heftier build may necessitate the amplification of tire pressure to stave off bottoming out and traction loss.
Riding Style: Your riding style can also influence your tire pressure needs. Aggressive riders who frequently perform jumps and drops may need lower tire pressure for better traction and cushioning, while more conservative riders may prefer higher pressure for a smoother ride.
Tubeless vs. Tube Tires: If you have tubeless tires, you can generally run them at lower pressures without the risk of pinch flats. However, tubeless tires may require a higher pressure to maintain their shape and prevent burping or loss of air.
Weather Conditions: Cold weather can cause a decrease in tire pressure, while warm weather can cause an increase in tire pressure. Therefore, it’s important to check and adjust your tire pressure regularly, especially if you plan to ride in extreme weather conditions.
Common Mistakes to Avoid When Inflating Mountain Bike Tires for Road Riding
When inflating your mountain bike tires for road riding, it may seem like a straightforward undertaking. However, you should sidestep a few typical blunders to ensure a secure and pleasant ride. Here are some of the most prevalent oversights to steer clear of while inflating your mountain bike tires for road riding:
Overblowing the tires: Overblowing your tires can cause them to stiffen excessively, which may culminate in a diminished grip, unsatisfactory handling, and a heightened likelihood of flats. To prevent overblowing them, be sure to peruse the recommended pressure range for your tires and use a pressure gauge to regulate the air pressure.
Underblowing your tires: Conversely, under-inflating your tires can create complications as well. It can lead to augmented rolling resistance, inferior efficacy, and a jarring journey. Make certain to inspect the suggested pressure range and inflate your tires to a minimum of the suggested pressure.
Neglecting the weight aspect: As previously noted, your weight can impact the required amount of tire pressure. Overlooking this variable can produce adverse outcomes, such as inadequate handling, diminished grip, and an upsurge in the probability of punctures. To avoid this, make sure to take into account your body weight and any supplementary gear or cargo that you might be carrying.
Forgetting to monitor tire pressure consistently: Tire pressure is subject to change over time due to temperature variations and other factors. Neglecting to inspect your tire pressure regularly can culminate in subpar output and an elevated risk of flats. To evade this, make sure to assess your tire pressure before each ride and modify it as necessary.
Uneven tire inflation: Inflating your tires unevenly can lead to uneven wear and tear, leading to a reduced lifespan and inferior handling. Ensure to inflate your tires uniformly and within the suggested pressure range.
Final Thoughts
Regulating the tire pressure on a mountain bike for road use is a crucial step toward a comfortable and safe ride. The optimal pressure range can be located on the sidewall or in the manual. For hitting the road, you can inflate your MTB tires up to 40 to 50 PSI Don’t forget to account for weight and additional load when determining the right pressure.
Checking and adjusting the pressure regularly and testing ride quality can improve the overall performance and lower the risk of flats. Bear in mind the appropriate tire pressure can have a significant impact on your road biking experience.
However, if you’re still unsure whether it’s worth riding a mountain bike on the road, you can opt for a road bike, you can check out the comparison of mountain bike vs road bike and find out if you need separate options for different terrains.


