As Bikepacking is a little more restricting in how much gear you are ultimately able to take with you on your adventure. We are going to learn about all the different ways you can store water on your bike, what capacity, and also water filtration and purification methods will be touched on too.
Compared to bicycle touring you can carry more then enough water to keep you going for days on end? But with a bikepacking setup is is possible to carry many litres to keep you going? Lets find out!
Figure Out How Much Water You Will Need
People have varying opinions about how much water you should drink everyday, one search results explains the “Health authorities commonly recommend eight 8-ounce glasses, which equals about 2 litres per day”. But as bicycle travellers we are not normal is this respect. And there are way too many variables that will impact how much each of us should be drinking per day. Water availability, environment factors, such as temperature. Age, body size, physical exertion, the list goes on and on.
It seems that for someone who is exercising or taking part in physical demanding tasks, such as bikepacking. We should be looking at around 1 litre to 1.5 litres per hour. (34 to 50 oz).
Again this can vary depending on many things. But for me personally this sounds about right, from my experience when I am drinking about this much water per hour when riding I keep hydrated enough.
So if we were to go further down this rabbit hole, and say that we ride for 5 to 8 hours per day again depending on you as a individual. That means you would need 5 L to 8 L of water for everyday of physical activity. Furthermore, you may even require more water, if you wish to cook at the end of the night and use for your oats in the morning. So a more realistic amount would seem like 10L of water per day.
This is probably a over estimate, from my experience on my last tour around Australia I used those ‘Coles 1.5 L’ water bottles, and always had 4 of them on me. And this was enough for me for a day of riding and camping in the woods then I would have to resupply most everyday after. So that is only 6 L of water.
Again it comes back to, How much water your body needs?
The best way to figure this out is to literally, test the waters. Pun intended. See how much water you feel comfortable getting through in one solid day of touring or bikepacking. Again this will vary.
Don’t for get electrolytes, potassium, salt and magnesium to keep you hydrated and your muscles fully functioning.
24 Different Ways To Carry and Store Additional Water When Bikepacking
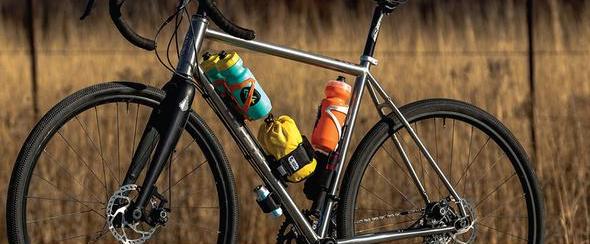
There are many different ways to customise your bikepacking bike into water carrying, camel?
Due to some bikes not being designed with water storage in mind, with a lack of eyelets to mount bottle cages, there are many different commercially available options and DIY water carrying solutions out there.
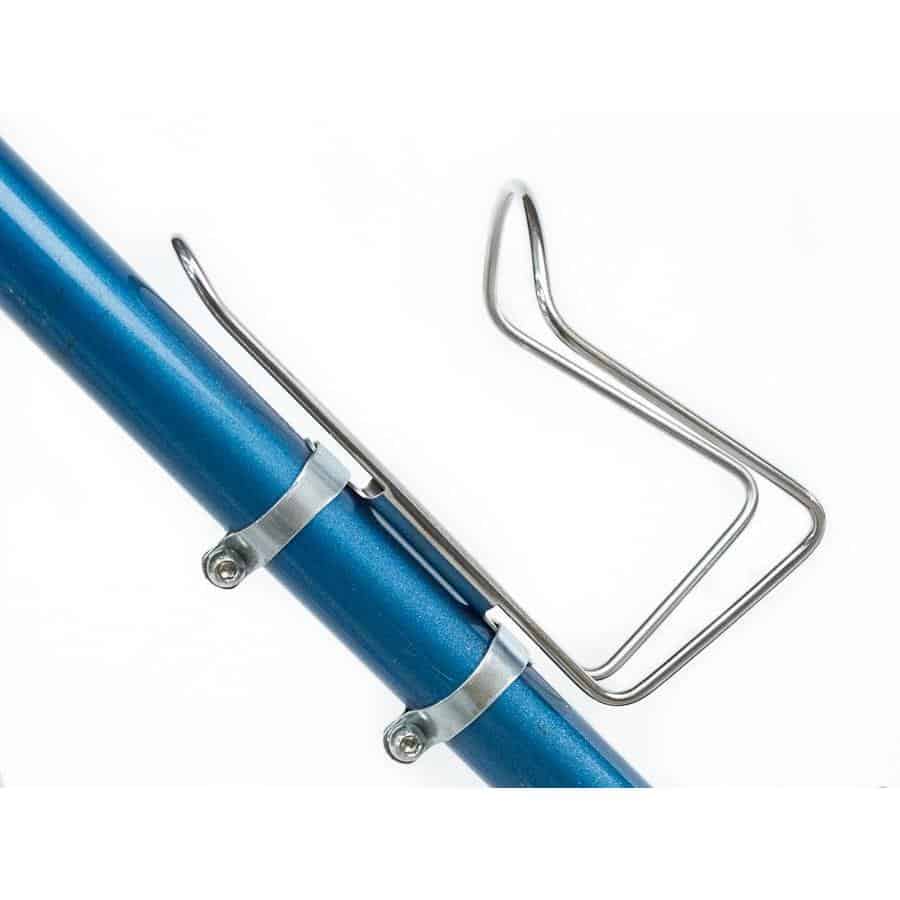
- Bedrock Honaker Hydro Pack – Velcro Strap, bottle holder pack, that is designed to fit under the outside frame.

- King Cage Top Cap Cage Mount, is a very simple, but smart water storage solution fitting underneath the top cap, then you just have to bole on a bottle cage.
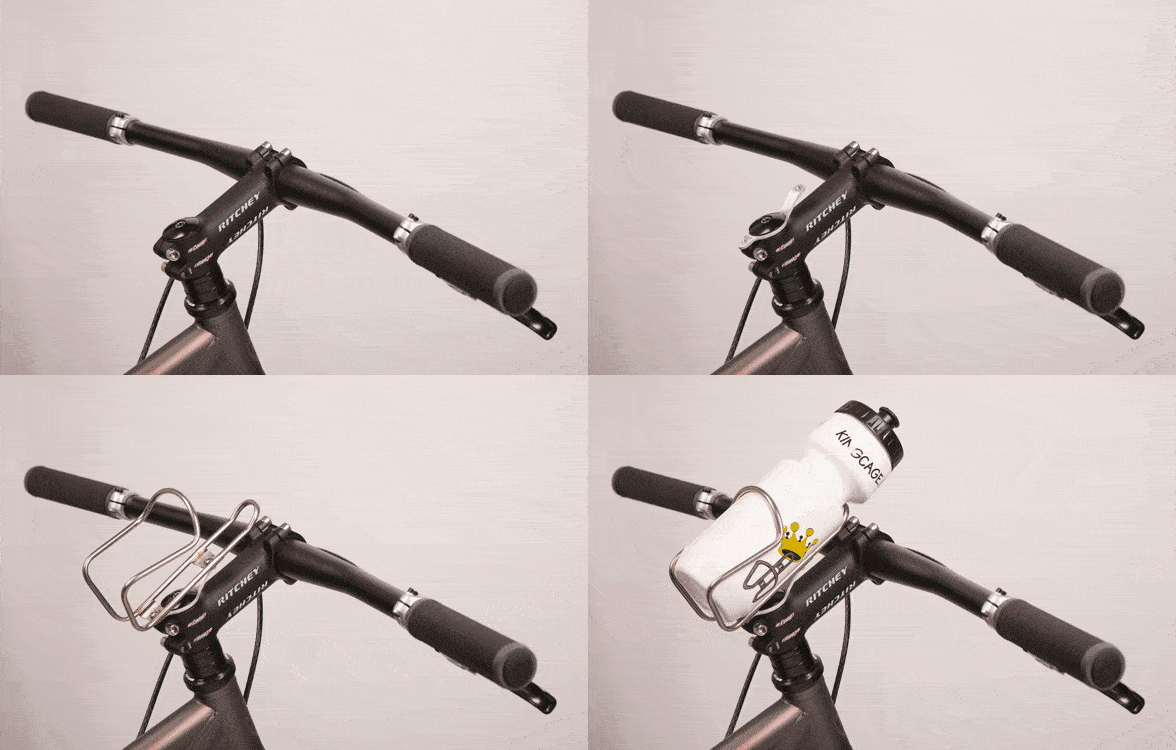
- Topeak VersaMount Clamps, Strap clamp style fits tubes from 20-60mm and has a load limit of 1.5 kg (3.31 lbs).


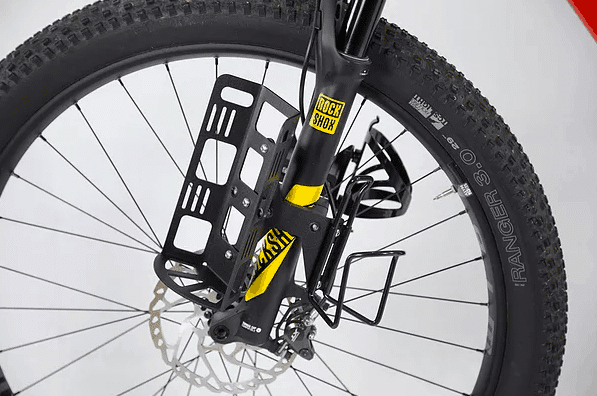
Overlander Suspension Fork Cage Mount
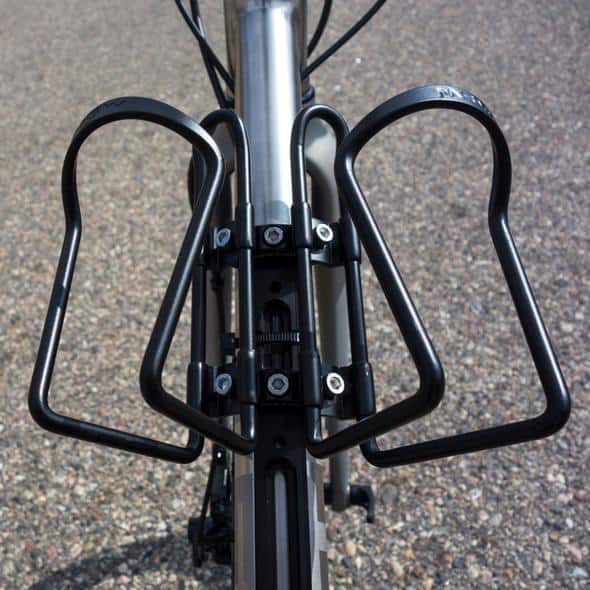
Perfect for bikepacking bikes with suspension forks and you still want to fit water bottles, you can even fit two bottles each side.
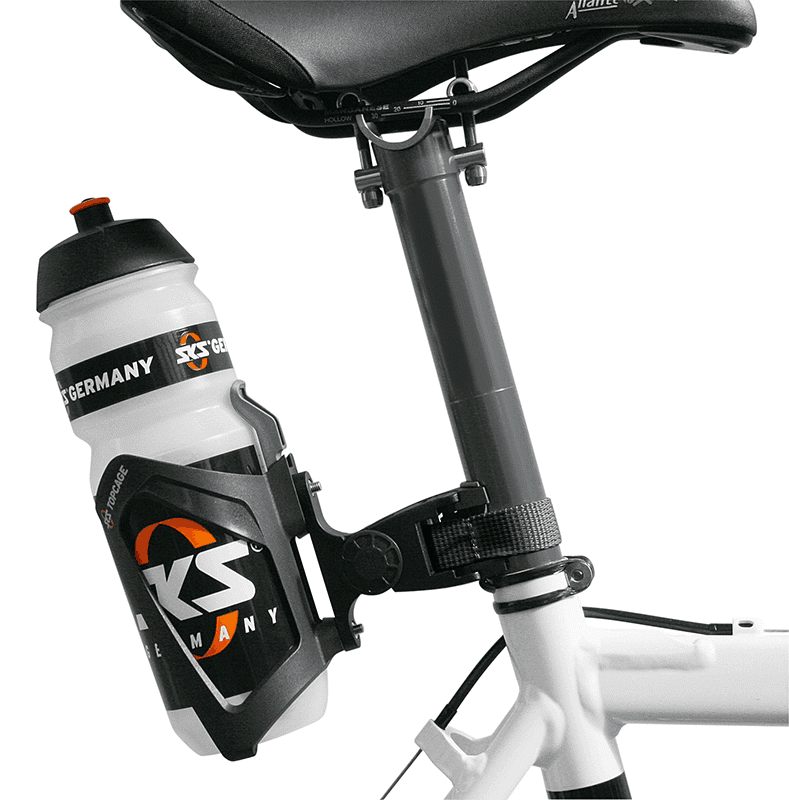
SKS Bottle Cage Adapter
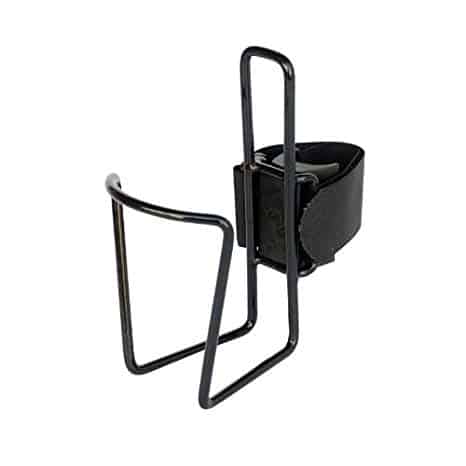
Is attached to the bike by velcro strap and can be placed on the stem or seat post or anywhere else that works. Has a adjustable head that allows it to pivot.
WOHO ANTI SWAY Saddlebag Stabilizer
Provides a very unique solution to storing dual bottle storage at either side of a Woho saddle bag.
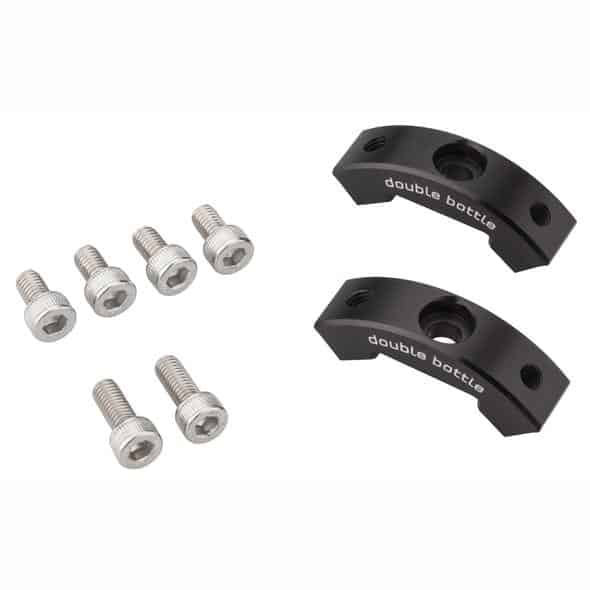
Wolf Tooth B-RAD Double Bottle mount
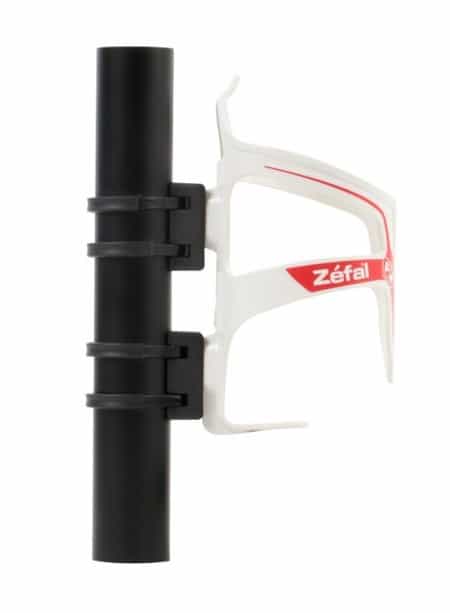
Zefal Gizmo Universal Mount
Wolf Tooth B-RAD Strap Base
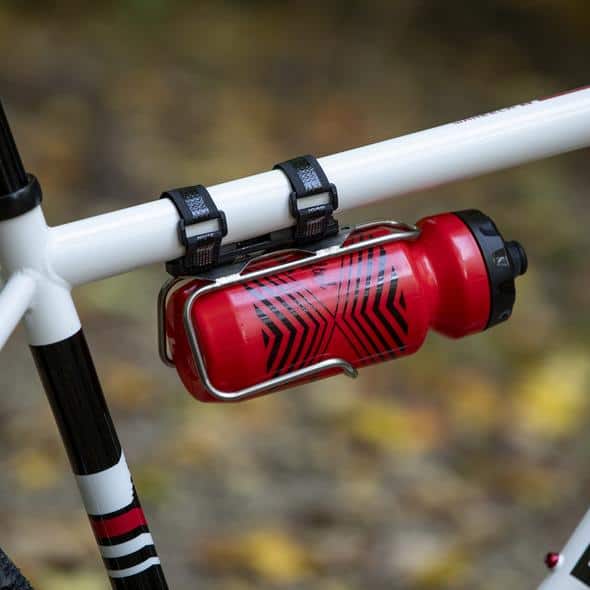
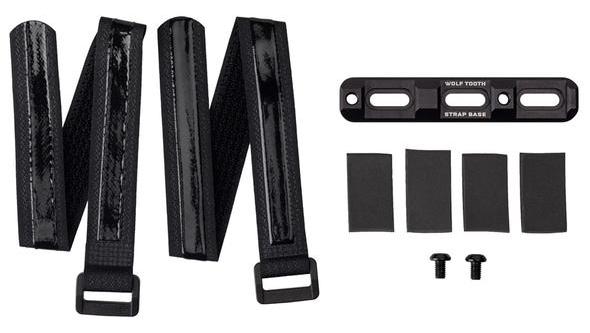
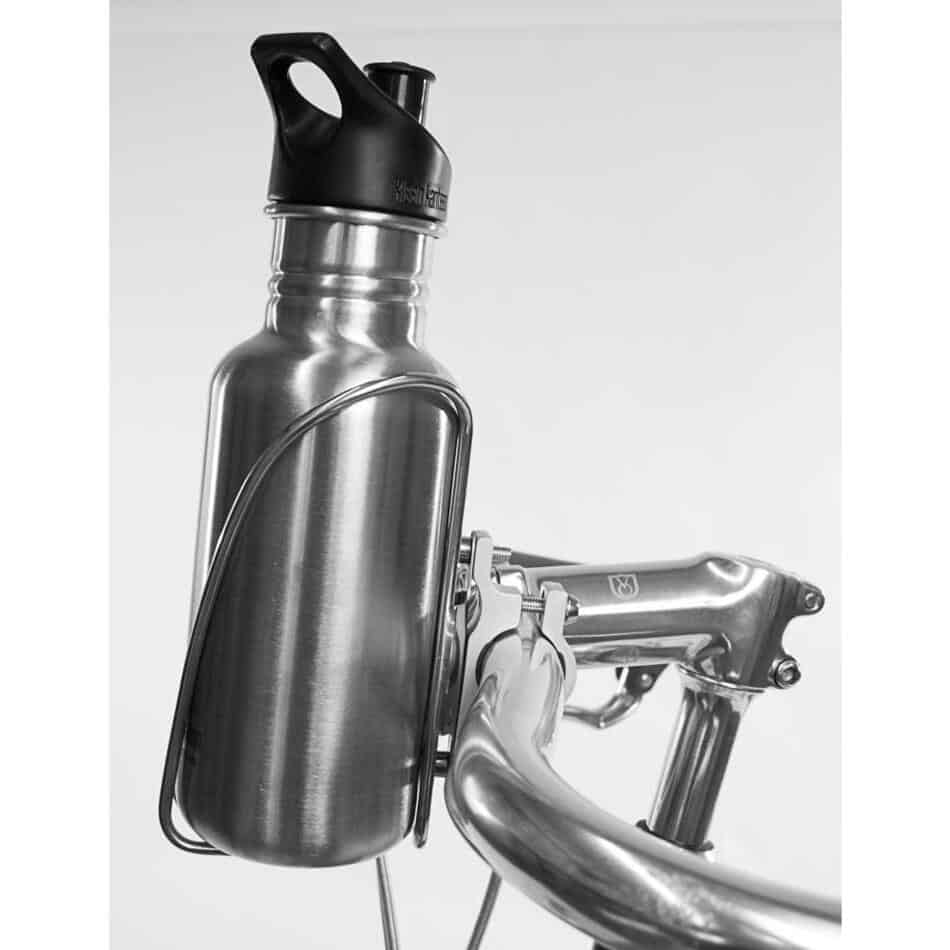
Velo Orange Handlebar to Bottle Cage Mount
Velo Orange Bottle Cage Clamps
King Cage Universal Support Bolt (USB)

Rogue Panda Bismarck Bottle Bucket
There are many stem bag or feed bag options out there that allow for water bottle capability.

Wolf Tooth B-RAD Bases
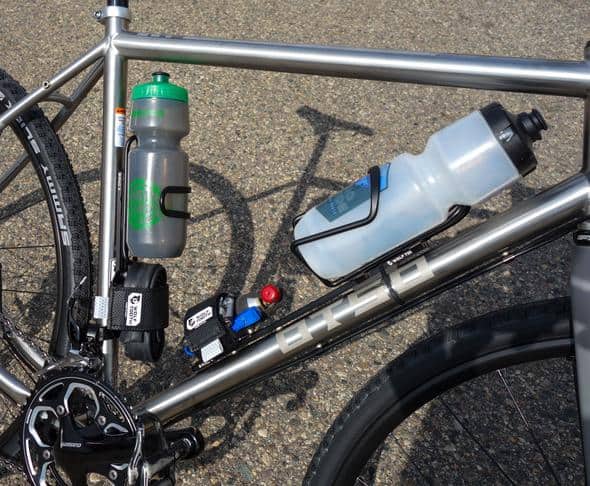
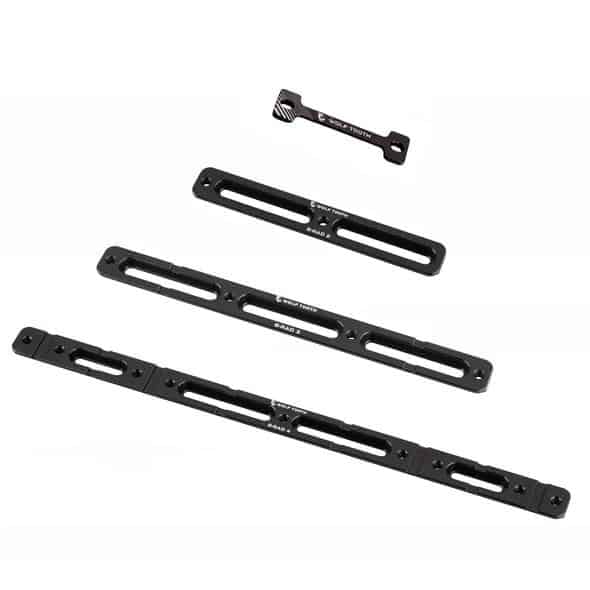
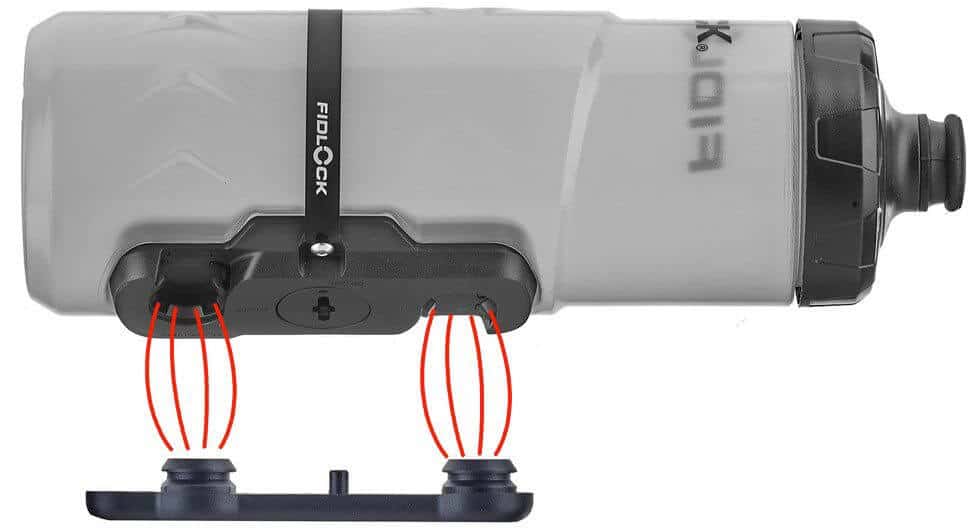
Fidlock Bottle Twist Uni Base Mount
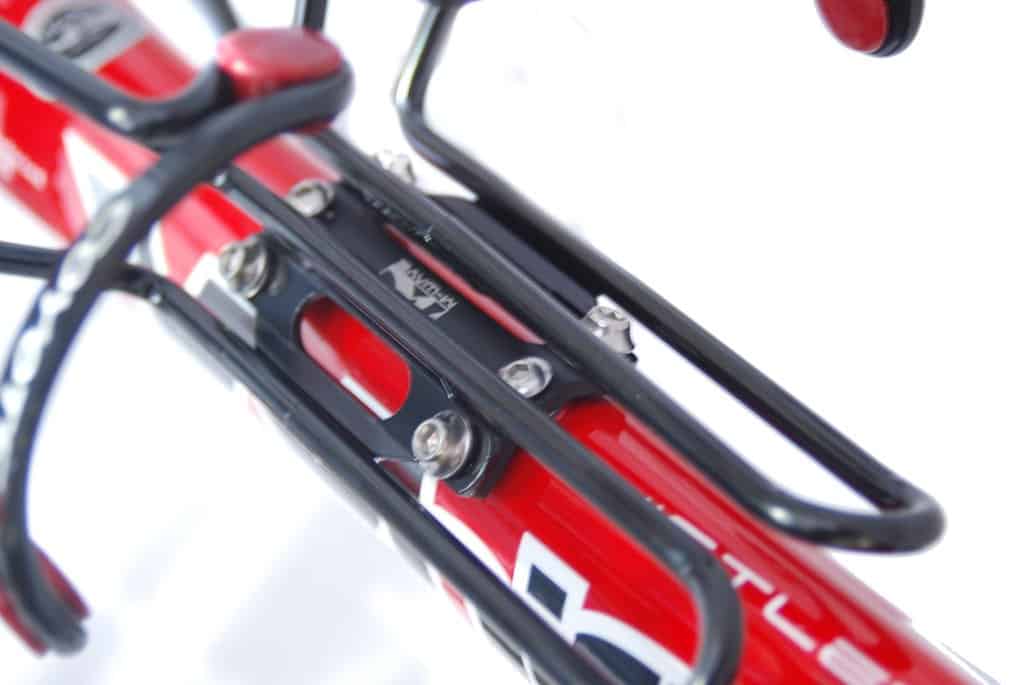
M-Wave 2 Bike Bottle Cage Adapter
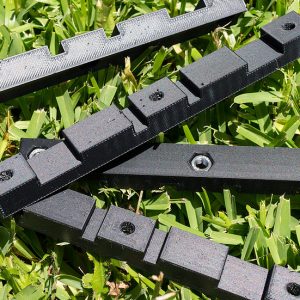
K-Lite 3D-printed Cage Adapter
Tubus Mid-Fork Eyelets
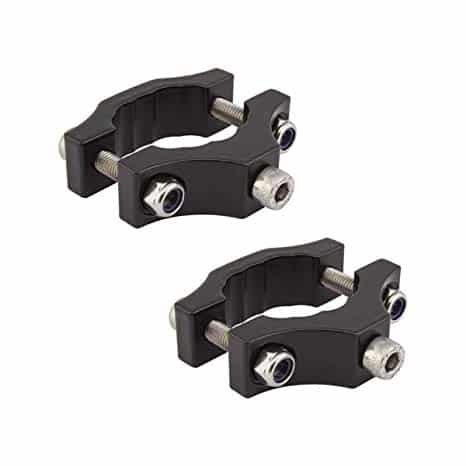
Twofish Quick Cages
(Come in a range of sizes) Velcro quick release attachment.
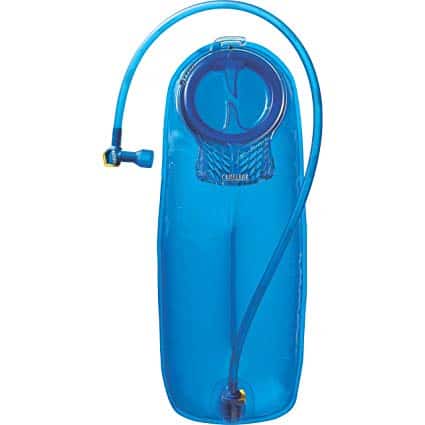
Frame Bag + Bladder
You can use something like a camelback bladder and store it in a frame bag. Some frame bags give your the option to feed through the straw up and out so you can access it while riding.
Some other ways to attach water bottle on your bike
- HOSE CLAMP BOTTLE CAGE
- ELECTRICAL TAPE BOTTLE CAGES
- ZIP TIES AND TUBES
- VOILE STRAPS
- Blackburn Anything Cage + Large Bottle / Container
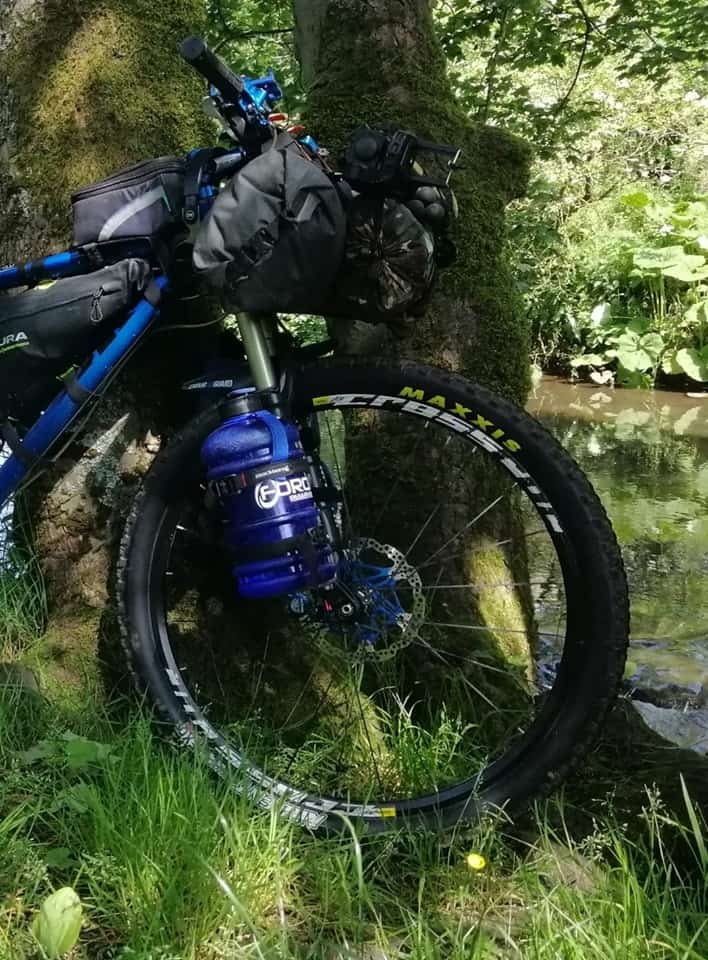
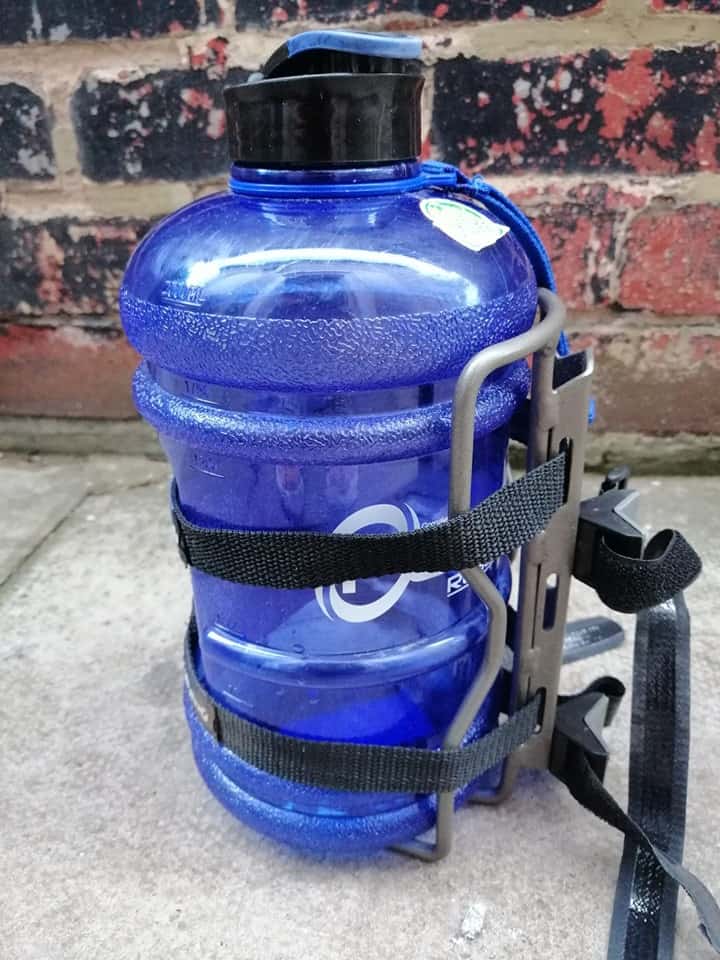
I also wanted to share Rick’s setup, he has a bikepacking setup with four bottles and a 2.5 litre bladder for extra capacity.
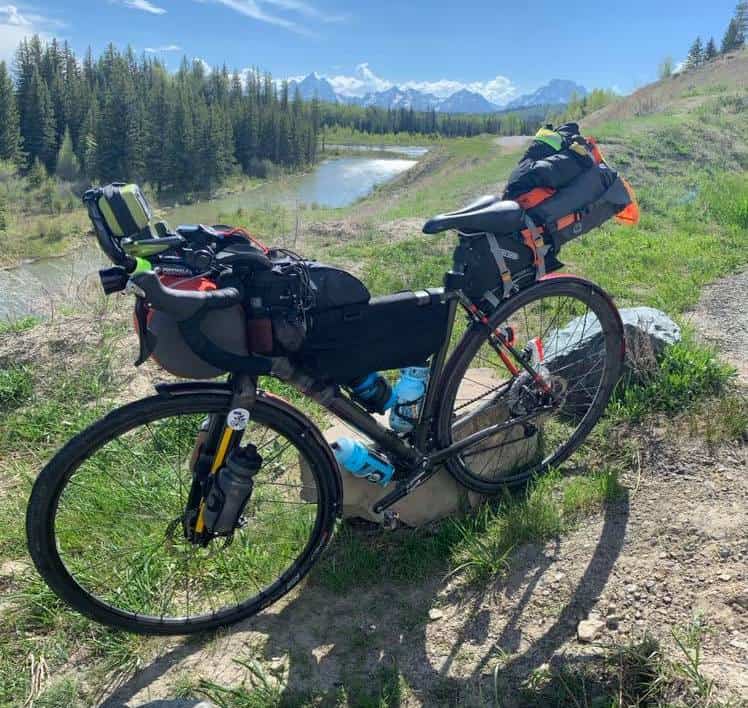
Tips When Working Out A Water Carrying System For Your Bikepacking Setup
- Aim for even weight distribution when planning out where you will be placing addition water storage solutions to your setup
- If you can you may want to see if you can either find a bladder with a extra long hose or DIY, as sometimes a standard bladder hose in a frame bag requires you to bend down to drink, it would be better if you were able to sit in a more upright position.
- Don’t overlook how you plan to store water on your bike, if you have too much on your bike you may not have enough room for other essentials. And with heaps of water on your bike it will certainly weigh it down.
- Consider getting a water filter (more on that later)
- Volume consumption estimates, again, vary so you may need a different amount then someone else may need .
- Plastic bottles are cheap, however over lengthy trip may loose form and become weak, leak holes etc. Consider getting proper water bottles, even insulated if you can.
- In the beginning, go on some rides of various lengths and see how much water you consume.
Ultralight Water Filters and Purification
Purifying and filtering water is also an option when you are in a pinch and need some water. I personally would shy away from these methods, for a common practices and instead only use these methods as a last resort.
There are certain health concerns related to drinking untreated and even some treated water. The methods I will be mentioning down below do there best to treat the water however there is still a potential 0.01% of micro-organisms that can bypass and cause illness. Some people have never recalled being ill from drinking purified water when others do.
Do some research before hand, and see if where you are travelling to will require you to carry large amounts of water and potentially use filtration methods if needed.
Filters
Below is a mixed list of different types of filters on the market for bikepacking some are lightweight and others are a bit heavier and not ideal for bikepacking but also las longer.
Squeeze-bag filters, pump filters, UV treatment – Pens and Gravity – Inline Filters.
- SAWYER MINI SQUEEZE (AND MICRO)
- KATADYN BEFREE (1.0L)
- LIFESTRAW FLEX
- MSR TRAILSHOT
- MSR MINIWORKS EX WATER FILTER
- STERIPEN ULTRA
- PLATYPUS GRAVITYWORKS FILTER
- SAWYER ONE-GALLON GRAVITY FILTER
Chemicals
These tables are great for clearing dirty water, very lightweight and require almost no effort when treating water.
However, the results with this method are not immediate and take some time to take effect. Which means you have to wait before you can drink the water.
Also most don’t work on cryptosporidium cysts and they don’t remove contaminants like metals.
IODINE can have certain health consequences and also some have not the best taste.
- AQUAMIRA (P,B,V)
- POTABLE AQUA—IODINE (P*,B,V)
- KATADYN MICROPUR TABLETS (P,B,V)
Boiling water
You could always just Boil Water, it is said that after water reaches a boil you must continue to boil the water for 1 minute. The US Center for Disease Control states, “Boiling can be used as a pathogen reduction method that should kill all pathogens.”
However boiling water has some down sides, it is very time consuming, each time you need water you have to setup the stove and then use your precious fuel to boil the water. However Boiling water is the most tried and true method for killing waterborne pathogens. And you don’t need to carry around other water filters when doing this method.
