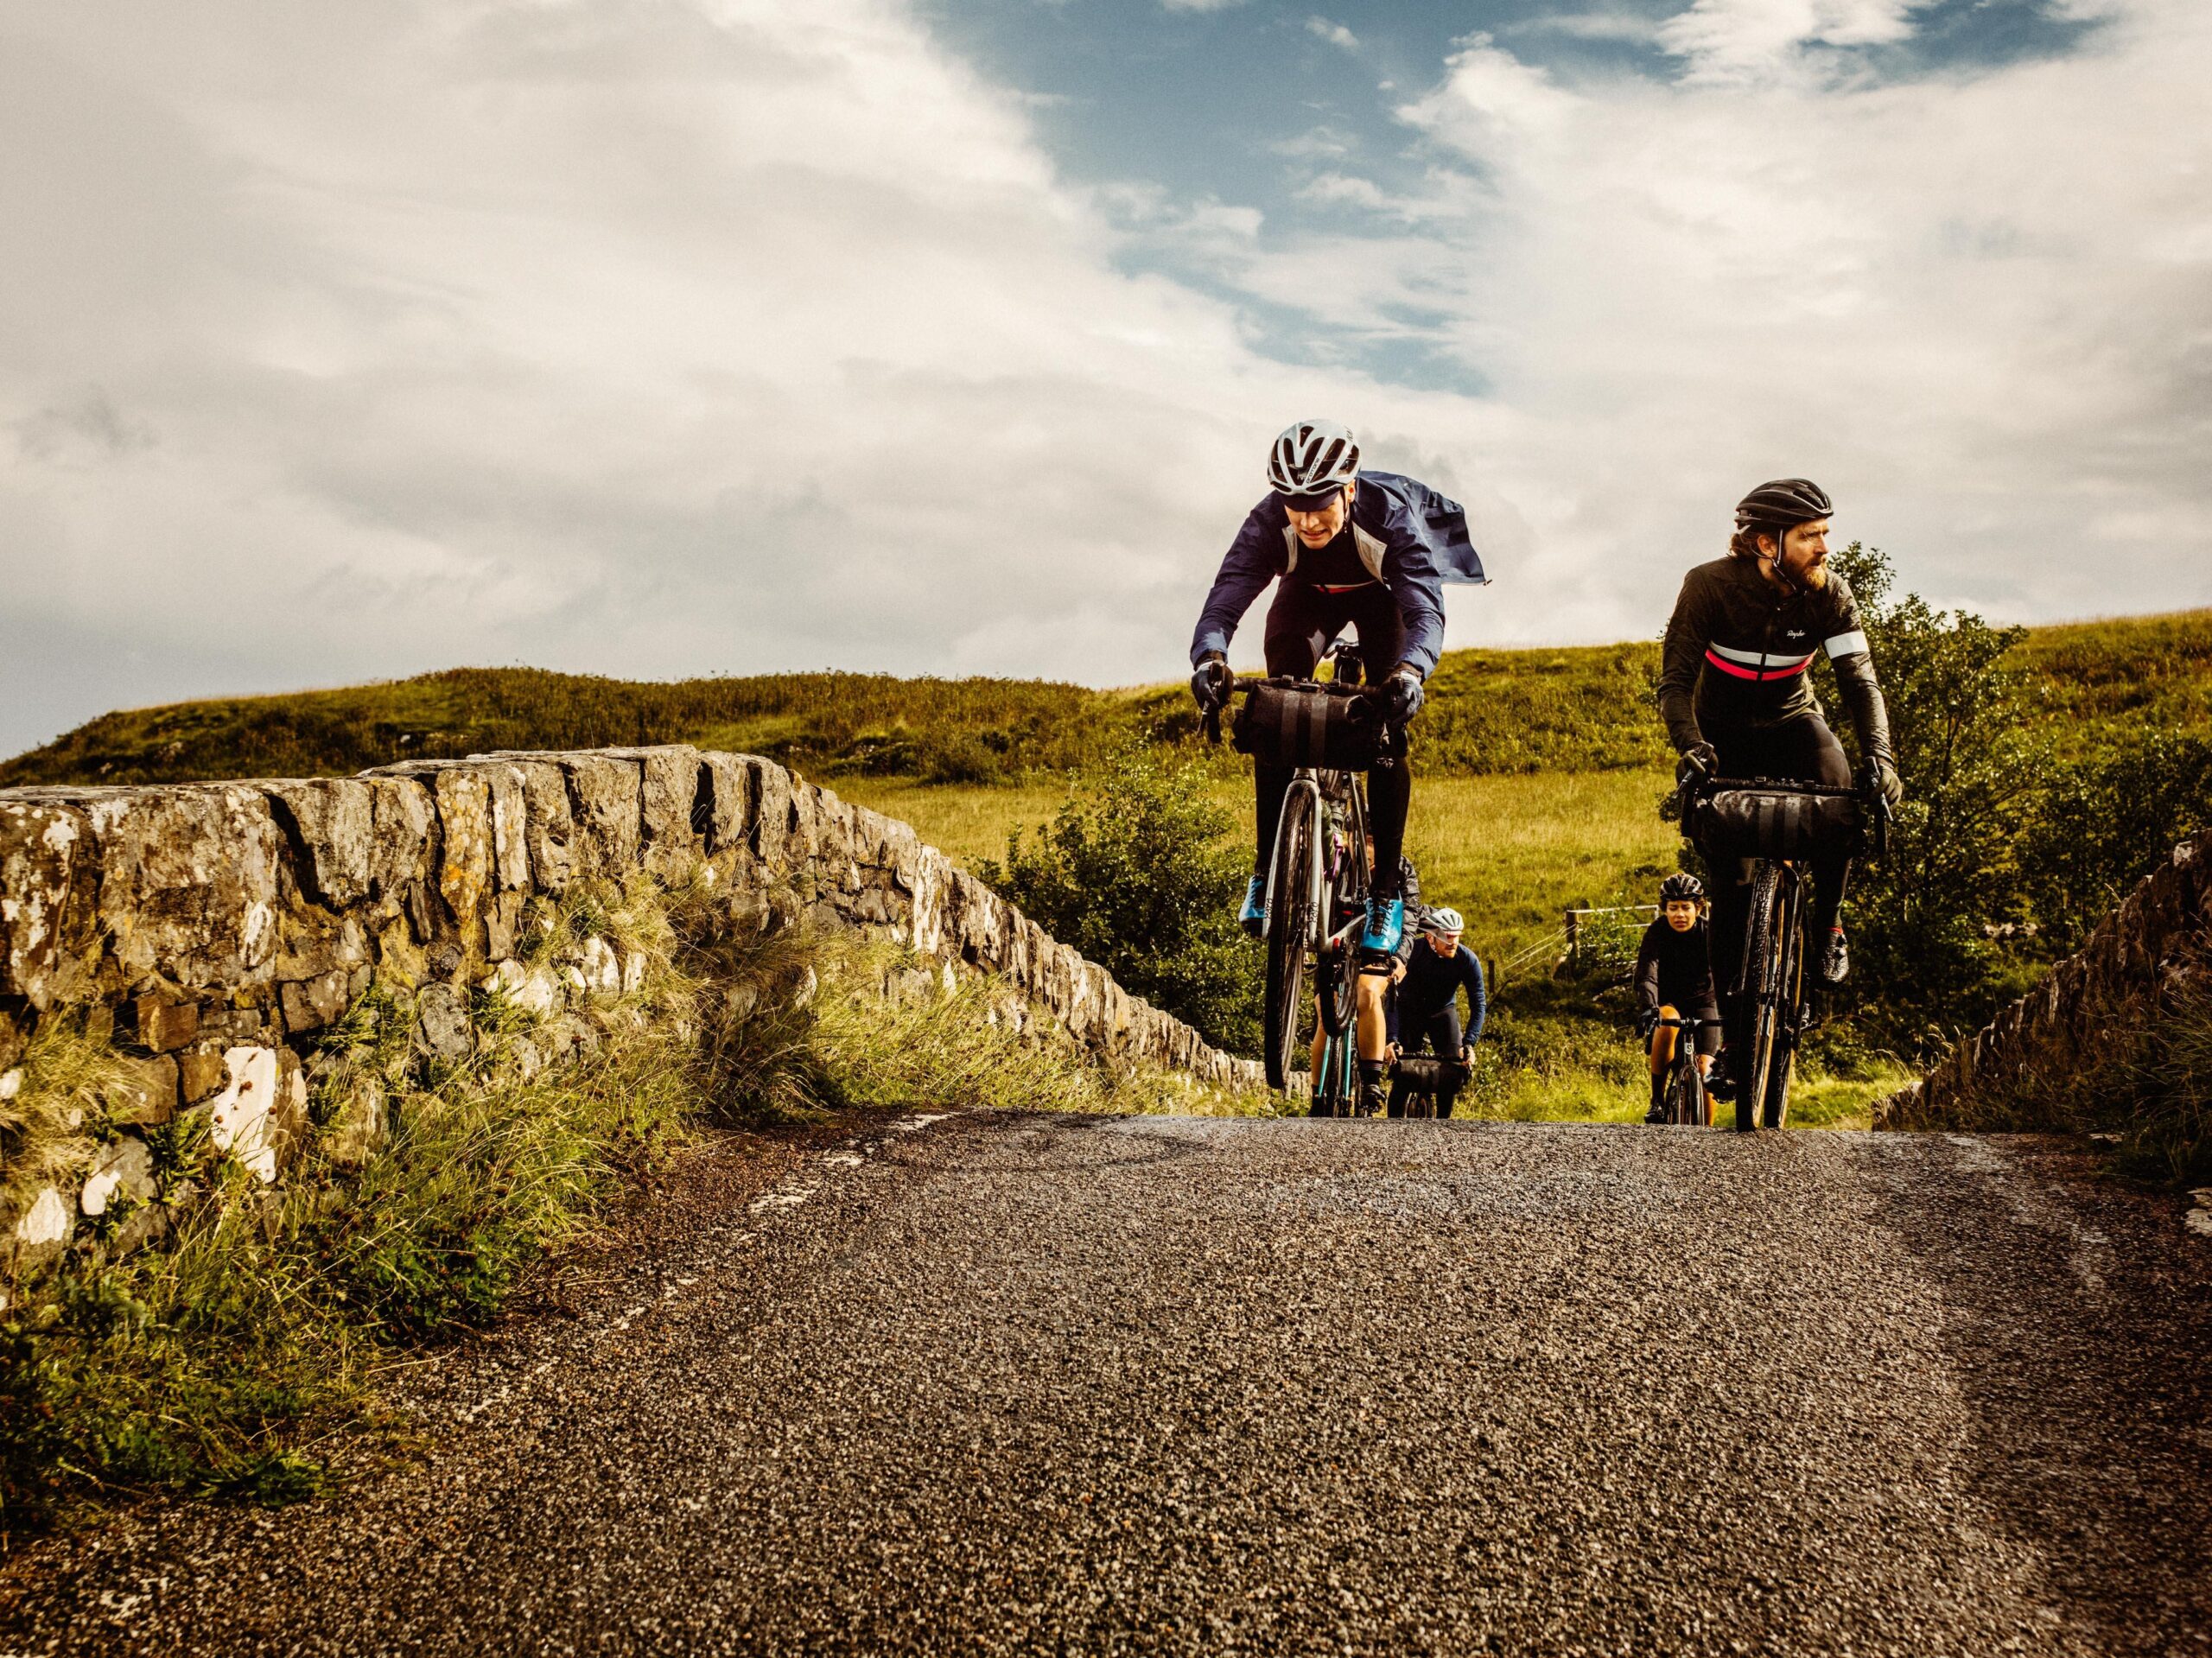
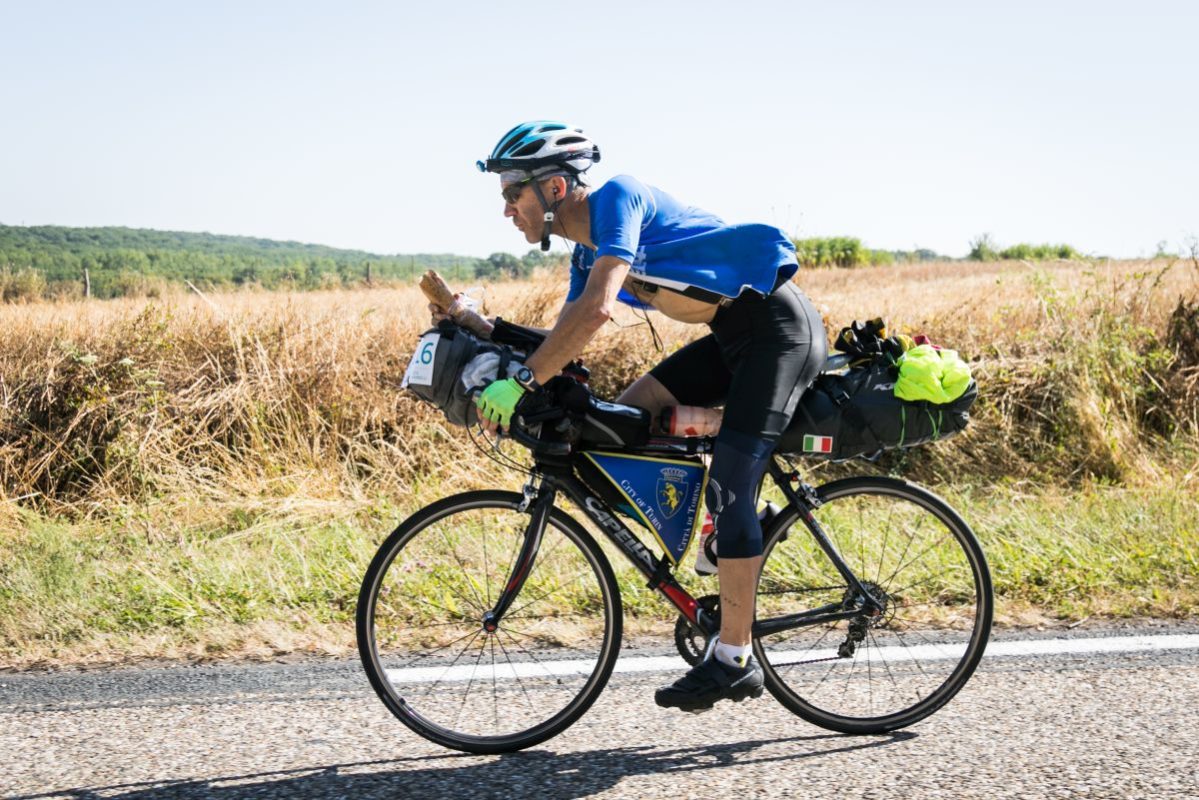
If you’re usually a commuter or a racer who wants to push themselves into more adventurous cycling but you don’t want to buy a second bike we are exploring how you can set up your road bike for the ultimate bikepacking adventure. Some frames aren’t set up to carry a rack, some aren’t built for the excessive weight that can come with touring but that doesn’t mean they can’t go and have unworldly experiences like the rest of them.
Road bikes are naturally more streamlined and faster than more sturdy touring bikes, so if you’re strapped for time you might just be able to fit in more fun than other slower set ups. There’s no doubt you’ll have less forgiving suspension and you’re not going to be winding around the single tracks through the backcountry, but on light gravel and sealed roads you will tear through gorgeous scenery and streak down the side of the mountains.

To turn your speedy sleek road bike into a bikepacking best friend you’ll need to invest in some kit. Lightweight and compact is your friend. Remember, road bikes are not designed to carry huge amounts of weight and if you overload them you can expect to be stopping for endless mechanicals.
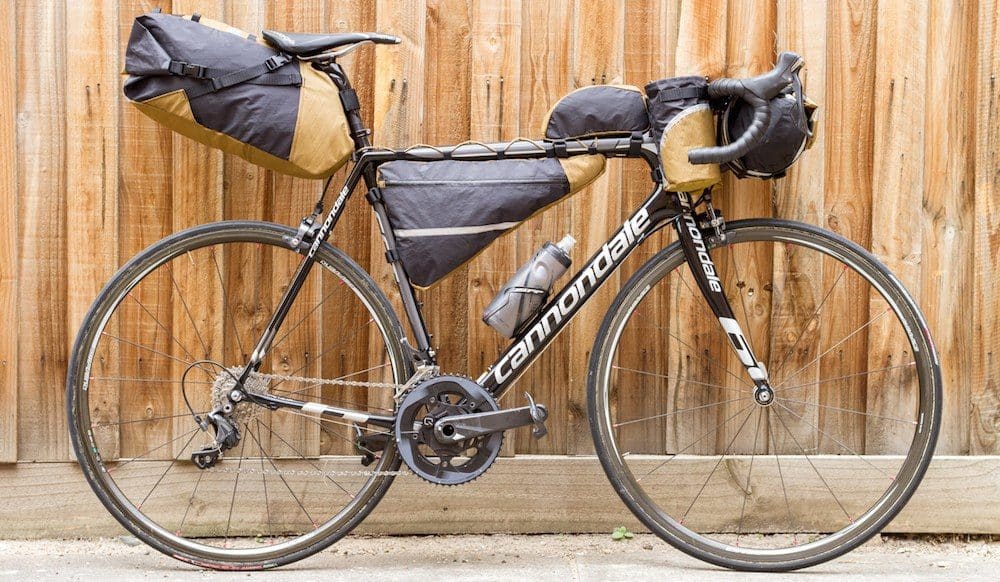
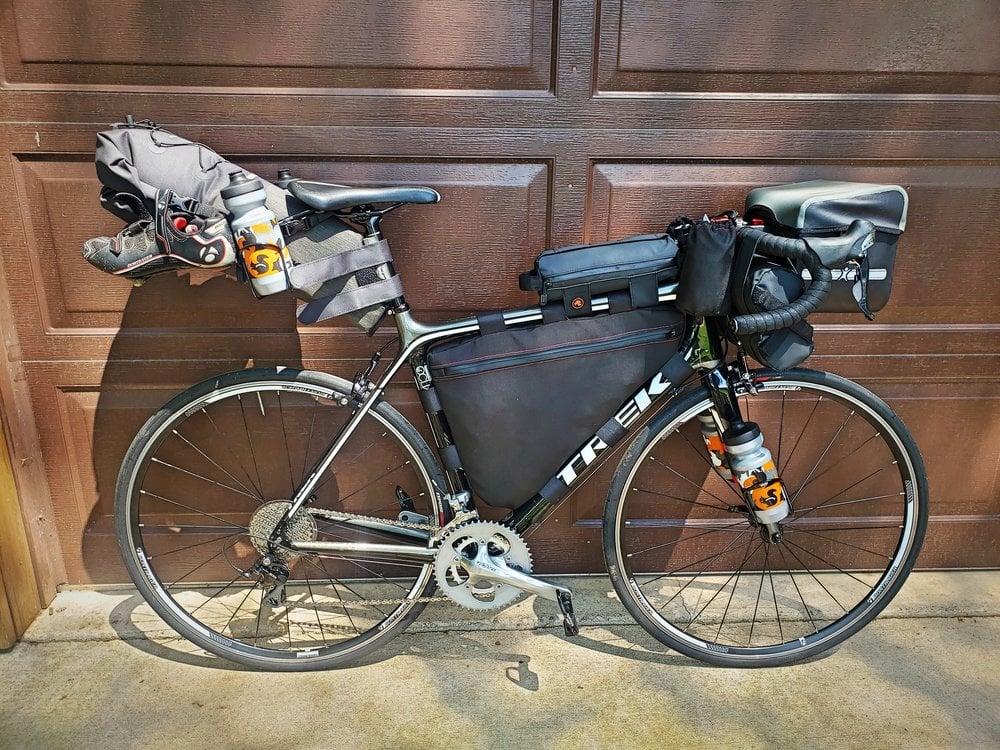
Bikepacking bag set up

Giant saddle bag – sits right above the wheel and attaches to the saddle. Make sure you have enough clearance and keep your bag as narrow as you can so your legs don’t hit it while you’re riding. These bags can hold 17-20 litres. Great for the heavier and bulky stuff like holding the tent poles and tent, sleeping bag and lock.
Frame bag – essential for bikepacking. Come in many sizes and holds more than you’d think. Just make sure not to load it up so much that it rubs on your knees! Great for carrying spares and tools, battery packs and extra water. If you go for the full size option you can fit clothes and other luggage.
Food pouch – sits on top of the top tube. This is a small, easily accessible bag with a zip on the top so you can grab your favourite snacks while you ride. These aren’t essential but they are very handy.
Front bar bag and accessory packs – these come in all shapes and sizes and fit anything up to 20l depending on bar width. This is where you’ll store your air mattress, clothes and stove. Then your food can be stored in the accessory bag sitting on the top.
Backpack – You may or may not want to ride with a backpack. If you do, opt for a close fitting running style bag from 10-20l. You don’t want to be carrying too much weight on your back to avoid unnecessary back pain. Consider carrying maps and lighter objects. Many bike packers often use a Camelbak backpack for extra water supplies.
My good friend at the One Good Road goes through his ultralight road bike bikepacking setup.
Bikepacking optional bike upgrades
Tubeless – The first upgrade worth considering is going tubeless. The last thing you want while you’re out and about is to be dealing with punctures. Going tubeless will dramatically reduce the risk of these, although it is worth taking tubes with you as a backup if your tubeless system fails in the back-end of nowhere!
Dynamo hub – If you’re off out on a long trip where you might have to ride in the dark hours then having a dynamo hub can be a saving grace. They include lights and USB charging options so you are always well lit and always have a power source. Great for peace of mind if nothing else!
Fork mounted bottle racks – this is an absolute genius set up idea, this means you can fit a full size frame bag between your knees and not compromise on water storage.
Mud guards – Most road bikes don’t have mudguards so if you’re taking your road bike on gravel or dirtier trails then getting mudguards fitted is a must!
Aero bars – Some may think these are reserved for racing but bikepackers see these as more opportunity to attach things to and give your hands a rest from the usual bars. You can be fully supported for long stints giving your back a positional mix up. Another bonus is that you can attach more hefty front bar bags, dynamo lights or GPS computers here rather than cramming them all onto your narrow drop bars.
New cassette – For ultra long distance and high altitude rides some people change their crankset and cassette to accommodate a wider range of gears. This is an investment and can lend itself to more chances of mechanical failures so be sure you know what’s what before heading off into the wilderness.
What to pack – the essentials

Air Mattress – Find one that takes a few puffs to inflate and wraps up nice and small. This will be a lifeline to getting a good sleep and having ongoing energy levels.
Bivvy bag or tent – depending on where and how long you’re riding will determine what you need. A Bivvy or Swag tent are great compact options for more temperate climates and shorter trips. They come structured (with a pole) or unstructured (close to your face) and are the ultimate lightweight option. For the longer trips and colder weather you can find great, single person, compact tents in most outdoors shops these days. Tents allow you to shelter better from the elements and get changed in privacy!
Battery packs – even if you’ve upgraded to a dynamo hub, packing a battery pack is always useful. You never know where the next plug socket will be!
Clothes – seems obvious but pack a few sets and some warm options for the nighttime. Remember, you won’t be riding 100% of the time. When you get off your bike you want something clean and dry to put on.
Food – As you’re planning your trip you need to see where your pit stops will be, some trips you may not have one for a few days so packing long range fuel, nuts, energy bars and dried fruit is essential.
Kit – spare tubes, multi tool, pump.. etc, you know the drill.
Road bike bikepacking pros and cons
Pros:
- Thinner tyres = more speed
- Light weight = more speed and easier riding
- More streamlined = more speed and easier riding
- No need to own two bikes. Bikepacking bags strap on/off easily so you can be racing one day and adventuring the next.
Cons:
- Thinner tyres = Limited off road
- Limited by weight allowance, you will need to find the most compact kit.
- Limited suspension and bump absorption
- More susceptible to punctures
- Generally less comfortable geometry
